CyberPanel
CyberPanel is a web hosting control panel based on OpenLiteSpeed and LiteSpeed Web Server, designed to easily manage servers through a graphical interface. CyberPanel supports one-click installations of popular applications such as WordPress, Joomla, and Drupal.
Its standout features include automatic SSL management, LiteSpeed Cache integration, an efficient backup and restore system, DNS and email management, and firewall-based security. With an intuitive interface and Docker support, CyberPanel is suitable for beginners and sysadmins who want to manage servers efficiently.
The free version uses OpenLiteSpeed, while LiteSpeed Enterprise is available for large-scale needs. CyberPanel is also compatible with various Linux distributions such as Ubuntu and CentOS.
1. System Requirements
System requirements for running CyberPanel:
- 1 CPU, 1 GB RAM
- OS: Ubuntu 22.04, AlmaLinux 8/9
Before starting the installation, prepare the following:
- A VPS or server with Ubuntu 22.04 OS
- SSH access to the server
- A domain already pointed to the server
2. Install CyberPanel
Update the system
sudo apt update
sudo apt upgrade -y
Download and run the CyberPanel installer.
sudo su - -c "sh <(curl https://cyberpanel.net/install.sh || wget -O - https://cyberpanel.net/install.sh)"Initial CyberPanel Installer menu, answer 1.
CyberPanel Installer v2.3.9
1. Install CyberPanel.
2. Exit.
Please enter the number[1-2]: 1
Install CyberPanel with OpenLiteSpeed, answer 1.
CyberPanel Installer v2.3.9
RAM check : 196/1963MB (9.98%)
Disk check : 2/58GB (4%) (Minimal 10GB free space)
1. Install CyberPanel with OpenLiteSpeed.
2. Install Cyberpanel with LiteSpeed Enterprise.
3. Exit.
Please enter the number[1-3]: 1
Install Full service, answer y.
Install Full service for CyberPanel? This will include PowerDNS, Postfix and Pure-FTPd.
Full installation [Y/n]: y
Set up remote MySQL, answer n.
Do you want to setup Remote MySQL? (This will skip installation of local MySQL)
(Default = No) Remote MySQL [y/N]: n
Press Enter to install the latest version of CyberPanel.
Press Enter key to continue with latest version or Enter specific version such as: 1.9.4 , 2.0.1 , 2.0.2 ...etcAnswer y to install Memcached.
Do you wish to install Memcached process and its PHP extension?
Please select [Y/n] y
Answer y to install Redis.
Do you wish to install Redis process and its PHP extension?
Please select [Y/n]: y
Answer Y to install WatchDog.
Would you like to set up a WatchDog (beta) for Web service and Database service ?
The watchdog script will be automatically started up after installation and server reboot
If you want to kill the watchdog , run watchdog kill
Please type Yes or no (with capital Y, default Yes): Y
If the CyberPanel installation is complete, the panel access information will be displayed.
Answer y to restart the server.
###################################################################
                CyberPanel Successfully Installed
                Current Disk usage : 9/58GB (16%)
                Current RAM  usage : 411/1963MB (20.94%)
                Installation time  : 0 hrs 25 min 0 sec

                Visit: https://170.64.211.218:8090
                Panel username: admin
                Panel password: nnBnsI9yb4JgIjir

             Run cyberpanel help to get FAQ info
             Run cyberpanel upgrade to upgrade it to latest version.
             Run cyberpanel utility to access some handy tools .

              Website : https://www.cyberpanel.net
              Forums  : https://forums.cyberpanel.net
              Wikipage: https://docs.cyberpanel.net
              Docs    : https://cyberpanel.net/docs/

            Enjoy your accelerated Internet by
                CyberPanel & OpenLiteSpeed
###################################################################
Digital Ocean detected...
This provider has a network-level firewall
Please make sure you have opened following port for both in/out:
TCP: 8090 for CyberPanel
TCP: 80, TCP: 443 and UDP: 443 for webserver
TCP: 21 and TCP: 40110-40210 for FTP
TCP: 25, TCP: 587, TCP: 465, TCP: 110, TCP: 143 and TCP: 993 for mail service
TCP: 53 and UDP: 53 for DNS service
Your provider seems blocked port 25 , E-mail sending may not work properly.
Would you like to restart your server now? [y/N]: y
4. Add a Website
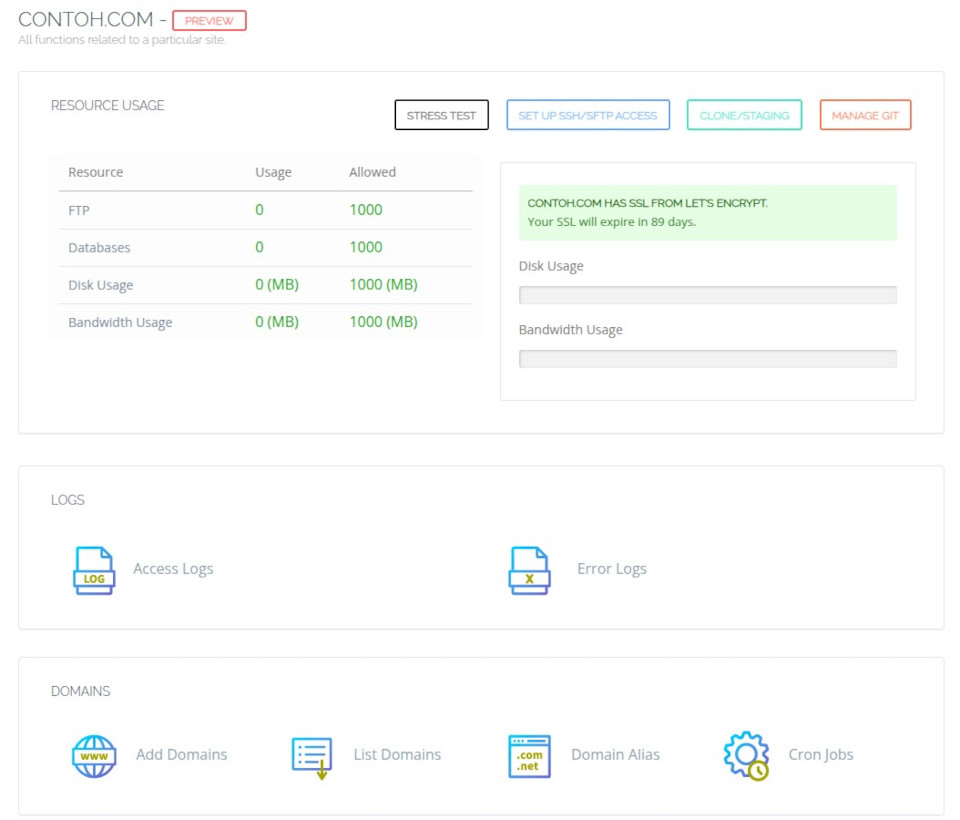
Steps to add a website:
- After logging into the panel, click the
Websites > Create Websitemenu. - Select the
PackageandOwner, enter theDomain nameandEmail, and choose thePHPversion. Then clickCreate Website. - Once completed, the messages
Successfully Installed.andWebsite successfully created.will be displayed. Click theWebsites > List Websitesmenu to view the list of websites that have been created. - Click
Manageon the website name you wish to manage.